
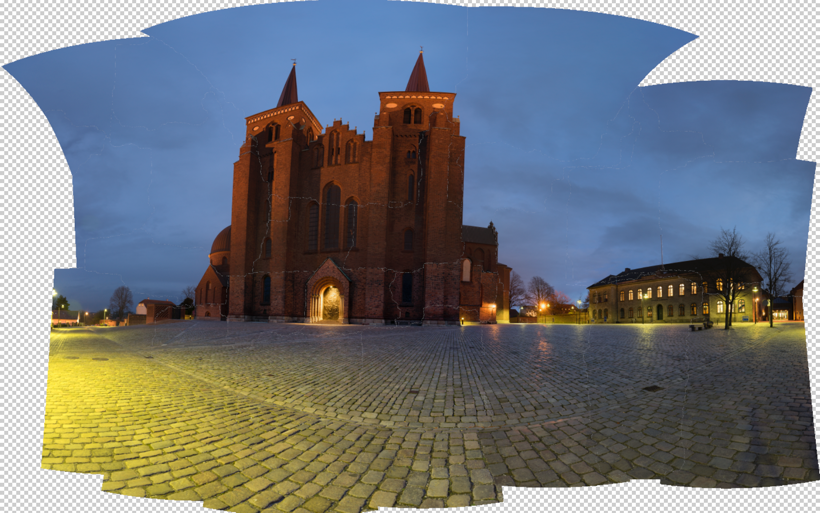
Roskilde Cathedral Square. A 169 megapixel image stitched from 28 downscaled images.
There is something about panorama photos or stitched photos that fascinate me. It’s a bit like a fisheye lens, that shows the world in a way you can’t see with the naked eye.
A panorama photo serves multiple purposes seen from my perspective. The obvious reason is to include more of a scene in one photo, in a panoramic way.
Another reason is to compensate, for a missing lens. If you haven’t got that really wide angle lens in the bag, shoot two less wide angled images, and stitch them when you get home.
An even more fascinating reason is to use it as an effect. An effect that can distort the world, just like the Fisheye lens does, only in a different way, but often with some resemblance.

Same scene more or less, just shot with a Fisheye lens.
And what I like even more about panorama photos, is that I find it hard to predict the result. There is always a surprise. Sometimes I use my iPhone and shoot a panorama, it can help visualizing the scene as a panorama image, but the iPhone doesn’t work when it gets dark.
I have a deep passion for showing the World in a surreal, yet recognizable and realistic way. I have one foot in the surreal world and one foot in reality. Sometimes I have more weight on one foot, than the other.
Panoramic photos give me another way to add surrealism to my photos, and I like that.
The story behind why I shot this 28 image photo, is that I have grown fascinated by Medium Format cameras, and the fact, that a 60mm Medium Format lens is approximately the same as a 24 mm full frame lens.
Apparently a Medium Format lens distorts the scene less, but instead of spending a huge fortune on a Medium Format camera, I thought, shooting at 50mm and stitching the afterwards, would give a similar effect. As it turned out 50mm was too many shots, and I went to 39mm instead.
I must say, that the perspective is much less distorted, than in this 14mm shot. It is shot at approximately the same distance as the panorama.

14mm on a full frame. Shot at the same distanse as the 28 image stitch.
Stitching the Panorama photos
Panorama photos, or stitched photos, are several photos that are stitched together. Lightroom and Photoshop both have features to support this.
From my experience, Lightroom does a great job on simple panoramas but gives up on more complex stitching tasks. Photoshop is better and has got a few additional options.
But neither Photoshop nor Lightroom could give me, a decent result for this photo. The problem was the projections mapping the images distorted the image in an unpleasant way.
A projection is like when you want to map the round Earth to a flat piece of paper. In a way you record a sphere, from the inside, when you move your camera around shooting photos. When you project something round to a flat surface, you have to make some compromises. Just try to flatten the peel from an orange.
There are different algorithms, or projections for doing this, and they give different results. You just need to find one you like.
This photo is made of 28 photos shot with my Sony A7R, which means 36 megapixels per image, that is a lot of pixels.
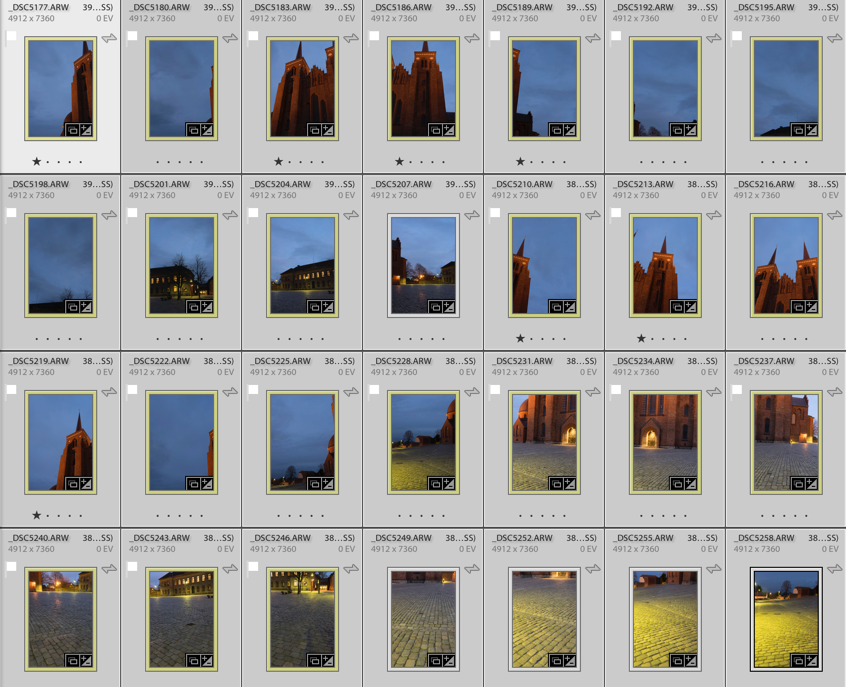
Shooting that many 3 shot HDR photos during the blue hour is a problem. The light changes so rapidly that you get different light in the photos, and I had to reshoot some of the photos because the light had changed too much. Luckily I discovered that before I moved the camera.
Lightroom only offered one projection, which looked terrible. For some reason, it would do not the two other projections. This is something I encounter from time to time.
I then exported to Photoshop, picked automatic projection and in a few moments, the fan went to high speed, and the computer got sluggish. Half and hour or maybe an hour later Photoshop was still stitching, and suddenly I got a warning “Out of disk space”. What?!? I have 700 Gigs of free space!? I opened my Finder, but “nooo” disk space certainly was critically low.
I emptied the trash can, but suddenly the fan stopped. After another hour of waiting and nothing had happened, I realized that Photoshop had died on me.
Instead, I exported the photos as TIFF 16-bit in 3000×2000 pixels. This Photoshop could handle nicely. I chose TIFF 16-bit, to be able to do some proper image processing later. When you export you only want to have fixed lens distortion, and synchronized the White Balance across all photos.
TIP: If your files are too big, export them as TIFF 16-bit, and make them smaller. You will still get a big file.
I have ended up with a 17.000 x 9.930 pixel image (169 Megapixel), using the smaller files. This is plenty for an insanely large print (7 yards wide, and you would still not be able to count the pixels close up).
Photoshop could now process the images, but I didn’t like the result. It got warped too much, in ways I didn’t like. Here’s an example:
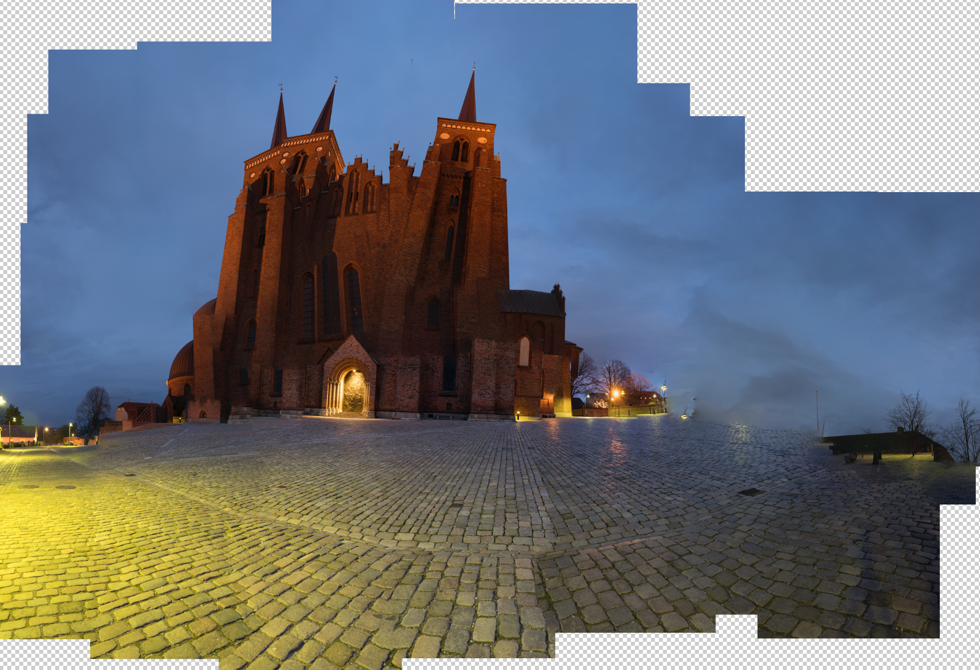
The default project from Photoshop looked terrible, and one of the others is a bit funny. I tried the others, butdidn’t get a result I liked.
Instead, I turned to Auto Pano Giga v4. This is the most advanced Panorama software that I know of. It’s not cheap, but if you can afford it, it’s worth every penny, and it get’s the job done. I only had the old version had to upgrade, and now I bought the bigger version. It integrates into Lightroom and Bridge, and there are some other advantages, I thought I would like to have.
Auto Pano Giga offers a huge range of projections, and some have parameters you can adjust. I picked the ‘Pannini’ projection and adjusted until I got something nice, and then I exported the final result to a Photoshop file. I still only used the 3.000 x 2.000 files.
And from this point, I processed only in Photoshop and later in Lightroom.
I have tried to run the full resolution files into Auto Pano Giga, and I does allow me to do it, however, it does take some time to process. But, it does not suck up all my free disk space. It works in a different way than Photoshop does.
The full resolution is 40.000 pixels wide, and in a slightly different crop, it is just north of 1 Gigapixel. Photoshop struggled with my 169 megapixels image, I think I will only process the full resolution, if anyone needs a twenty yards wide print, with crazy people stepping up in front to see if they can count the pixels (which they wouldn’t be able to, once scaled properly).
–Jacob Surland
]]>
The Monastery of Haghpat is a UNESCO World Heritage site in Armenia worth a visit.
Over the past six months, I have thought a lot about, what it is that I do with my photography. What is it I like to do? And what I don’t like to do? My available time for photography is limited, and I want to spend my time on the right things.
I have to admit, that I love the post-processing much more than the actual shooting of the photos. And when I shoot, I am looking forward to the post-processing. This has become more and more clear to me. A logical consequence of that is that I put time into learning new and interesting post-processing techniques, and combining them in new ways.
I once asked a professional traditional landscape photographer, if he considered himself a photographer or an artist. He promptly said ‘Photographer’, and then I asked what the difference was, and the answer to that, was somewhat more unclear. My conclusion was that he ‘felt’ a photographer because he recorded reality, as real and natural as possible.
When I started out, I asked myself a similar question: ‘Am I an artist? Or am I a photographer?’ and then the next question was, ‘What is an artist, anyway?’
I have come to the conclusion that I am an artist without a doubt. Why? First of all, because I feel that way, but also because I try to make something that I like, from the components I have. I try to carry an image, to where my imagination can carry it, and to the extent of the potential of the image. The components I have at hand are my RAW files, Lightroom, Photoshop and various other tools and techniques. Some photos have much more potential, than other photos. The ones with a lot of potential in the creative sense are the photos I like the most.
I create an alternative surreal reality, rather than record reality. I am no documentarian. I do what I do, because I like to do it that way and pay no heed to what reality looked like. And that is the essence of why I feel that I am an artist.
Many photographers, don’t like what I do because I manipulate my photos, but to me that isn’t important. I do what I do, because I love to do it, not because somebody else should like it. Does anyone happen to like it, I am just more happy.
About this particular image
I felt particularly artistic when I made this photo. The vision of this final image evolved as I worked on the image. The initial image, of Monastery of Haghpat, had an almost blown out sky and lacked the warm feeling. I did, however, like the composition a lot.
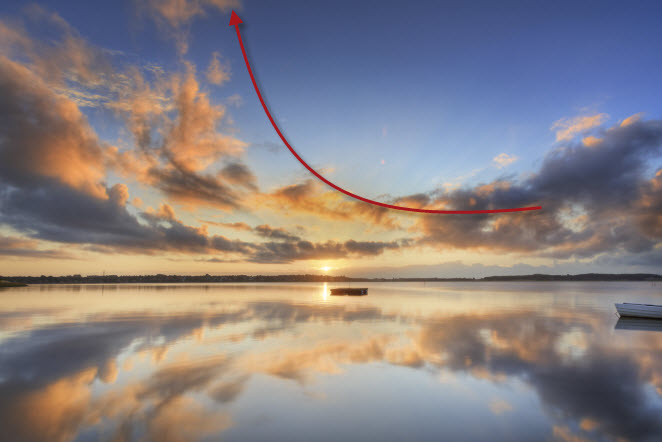
My first idea was to find a sunrise or sunset photo, having clouds in the shape of a bow, like the arrow, suggests.
![]()
I found this image, which I flipped to match the curve:
When I had merged the two, an idea began to form itself. The light from the two didn’t fit too well. I then applied textures (read about applying textures in this blogpost) to the image, which brought the warm feeling to the monastery and gave a more homogene warm feeling to all over the image.
I cleaned up the image. Removed the dead pigeon, and the fencing, etc. Cleaning up is an important step, and you will be amazed how much you can change an image, just by removing irrelevant stuff in your image.
I still had the feeling, that I was missing something, and I began looking for birds and found this one from Grand Canyon. I flipped it, to look at the entrance.

]]>

As an Apprentice of The Arcanum we get presented all sorts of tasks and exercises, on our journey to become better artists. At my current level, I have to focus more on what is “me” and “my” art in what I do.
Even before I got the assignment from my Master Robin Griggs Woods, I had started down the road of ‘who am I’? It’s not as easy as you might think, realizing who you are, and what you do, which is uniquely you.
Truth is, that I find myself most creative, when I am sitting in front of Lightroom and Photoshop, not when I am out shooting photos. I get ideas on processing techniques, combining techniques in new ways, trying out all sorts of things. Some photos are fairly straightforward, while others are much more time-consuming, and require that I used my creativity.
Some of my photos, I spend weeks, months, even years before I get the final idea. The images may pop in my head, and then I think of ways to process them for a while. Forget about them, and then come to think about them again. Try some stuff, it might not work, and I shelve the photo again for a while. And then suddenly one day, I have the idea. This photo stars above London is a great example of this process. It took me months and many failed attempts before I finally made something I was happy with.

What I have come to realize is, that I see a difference in ‘just’ processing a photo, into something nice. The other day I processed two nice photos from London, but I didn’t get the kick out of, that I wanted. I thought about it. Why was it, that two perfectly great photos, full of city lights didn’t turn me on? It should be my favorite sort of photos. After thinking about it for a while, I came to the conclusion, that making the photos, only required Craft and Skills, not creativity.
The way I had shot the photos, and the light I had shot them in, didn’t leave much room for processing creatively. And because it was a standard processing technique, I could do in my sleep, it didn’t turn me on.
This fact has changed the way I see myself as a Fine Art photographer. I need room for creativity, in what I do. I get bored by doing the same routine stuff every day.
I have known for quite some time, that I do like to play with the viewers mind. I add elements, enhance elements beyond what is realistic. I may over enhance shadows, add light sources or change colors. This way I can play tricks on the viewers mind. His sub consciousness will detect, that something is not right and some even see what it is. What happens, when I do that, is the image will get an artificial look to it, maybe like a painting or at least border lining to surrealism.
In the photo in the top, of the Japanese Twoer in Tivoli Gardens in Copenhagen, Denmark, I have enhanced the shadows cast by the group of people. The shadows are far stronger than the original photo showed. Another thing I have done is to remove almost all color, in the lower part of the image. There is quite a lot of colored light, and it shows on the ground.
I find these elements very much me, other people may do it too or do similar things, but it is something that I like to do, and that I have found out on my own and integrates into many of my images.
On the London image, I added light beams on top of the London Tower Bridge, even though there are no light beams.
While these small techniques do not dictate a style, they are a part of me and my art. I use them in many different kinds of photos, but they are a part of my images, in general. I have some other techniques, which I also use, to make my own style of photos. It does not necessarily mean that my photos, end up looking the same, because they don’t, but you will find elements in each, that come from the same core.
What I am beginning to realize, is the elements in what I do, that make my photos into ‘my art’, as an expression of me. I like to tease and be surreal, I always loved surreal artists and texts, and, therefore it is a part of the photos that I make.
]]>