Warning: Undefined array key "multiauthor" in /var/www/caughtinpixels.com/public_html/wp-content/plugins/post-layout/plugin.php on line 114
Warning: Undefined array key "mobile" in /var/www/caughtinpixels.com/public_html/wp-content/plugins/post-layout/plugin.php on line 352

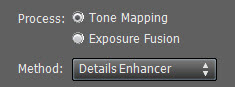
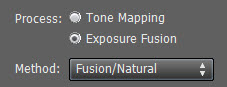
Photomatix offers many different processing algorithms, each with a different set of parameters. But cut down to what really works, more artistically there are really only two different algorithms. It is the Tone mapping -> Details enhancer and the Exposure Fusion -> Fusion/Natural.
Neither one is better or worse than the other, but they produce different results and in some cases one yields a much better result than the other. Tone mapping does give more artistic HDR photos, but also has the drawback of producing more noise into the photo. Noise is small grains in your image and you don’t really want it in the image, unless of course you add it artistically. You camera produces this as digital noise, and Photomatix enhances it.
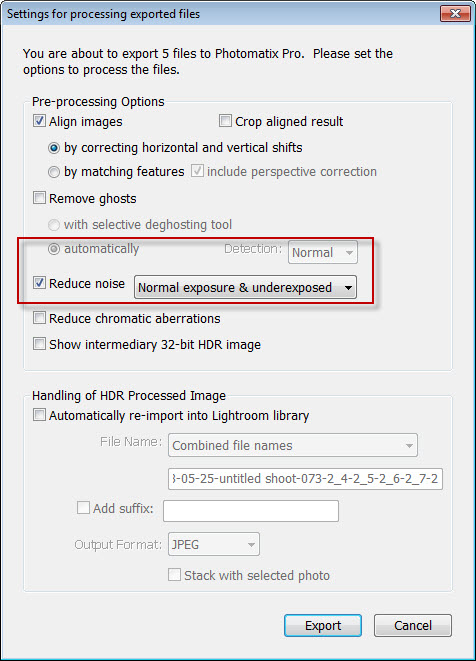
If you expect to end up using Tone Mapping, make sure to do some noise reduction. Photomatix does a decent job of reducing the noise, but often you want to apply Noise reduction on the final image too.
“Tone mapping -> Details Enhancer” is in general more ”HDR’ish” and gives you what you normally recognize as an HDR photo.
The post-processing
This is the 0-exposure and original photo:
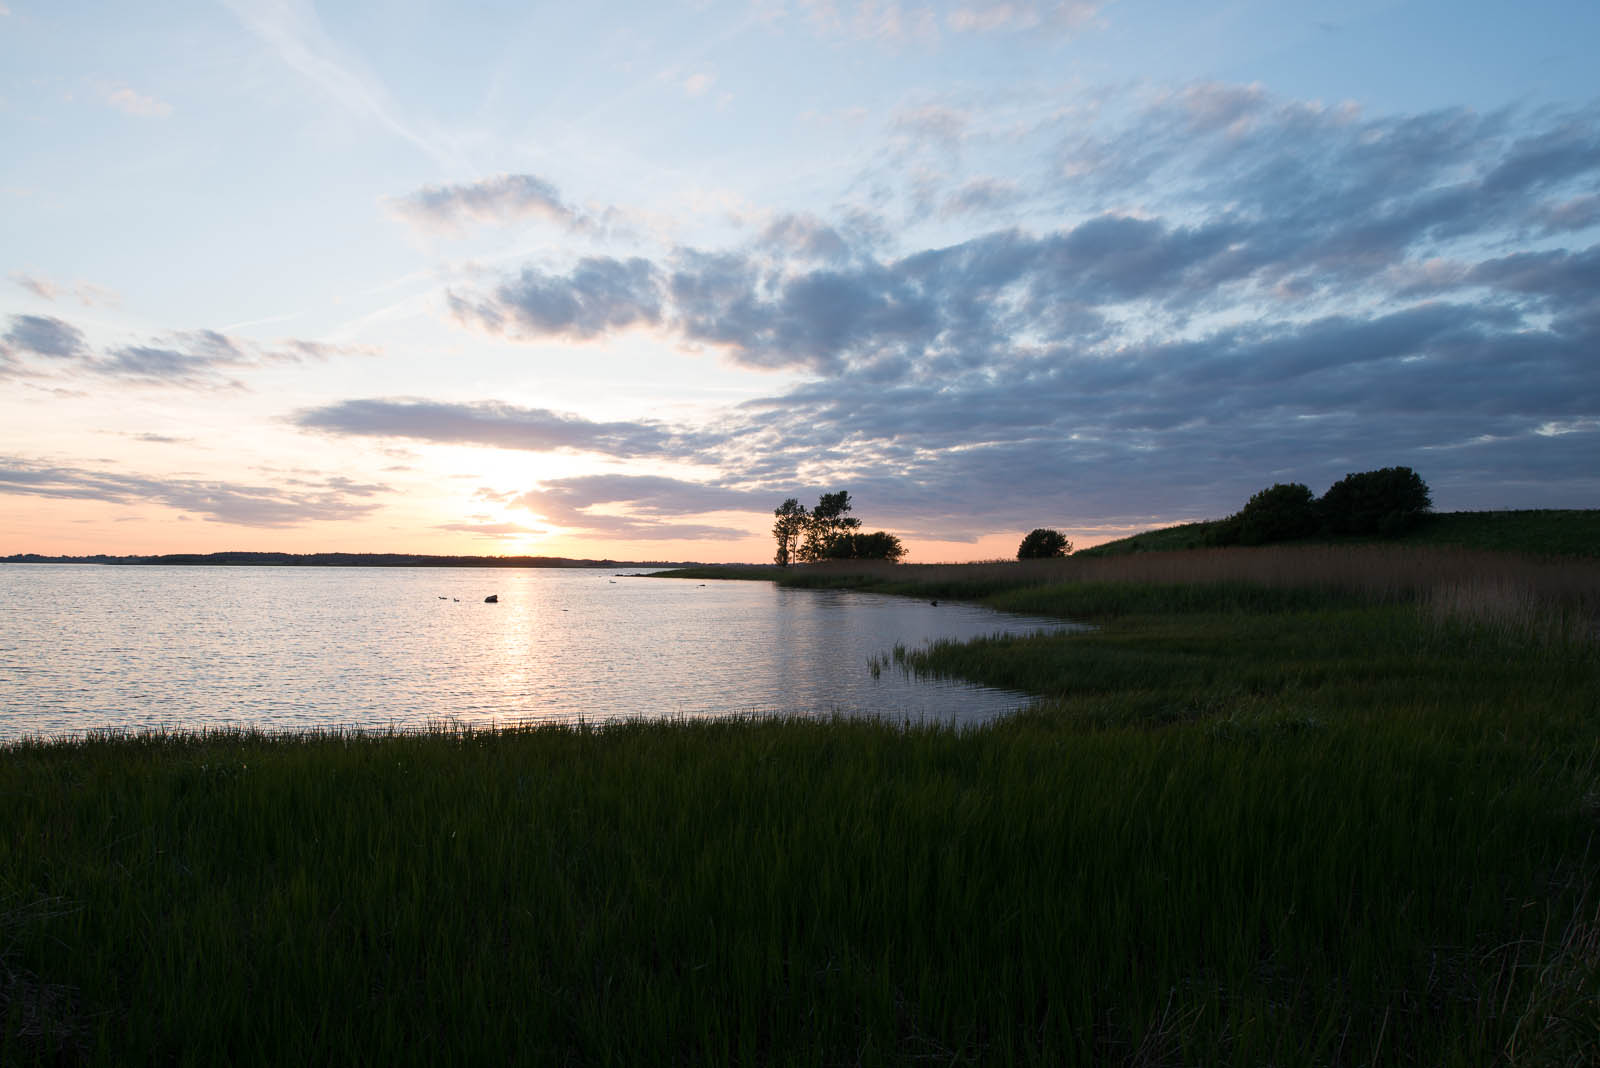
I did 7 exposures all together from -3 to +3. I did -3 because I was shooting straight into the sun. The +3 really isn’t necessary, but that is what the Nikon D800 delivers by default on 7 exposures.
I processed the 7 photos in Photomatix Pro and used the Natural / Fusion method. This gave some really nice grass in front. The sky I was not too happy with.
To get a better sky, I returned to Lightroom and started playing around with the -3 exposure. I used the -3 exposure, because it was only the sky I was looking at. The ground was completely black, but the sky well exposed.
To get some really nice colors, I started to play around with the tones. When I was happy with the sky, I exported that image. I now had 9 images.
- 7 original shots
- 1 HDR natural / fusion image
- 1 Great Sky Made In Lightroom image
What I did last was to mix the sky and the HDR photo together and got the final result. I used Photoshop to blend the two images.